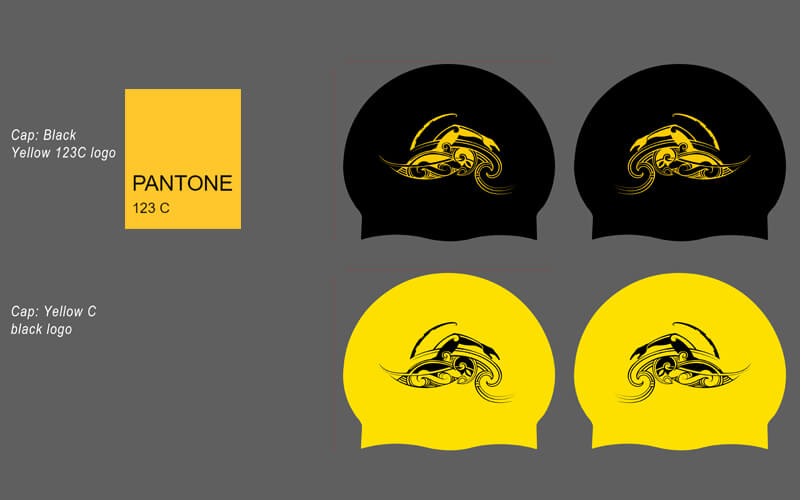
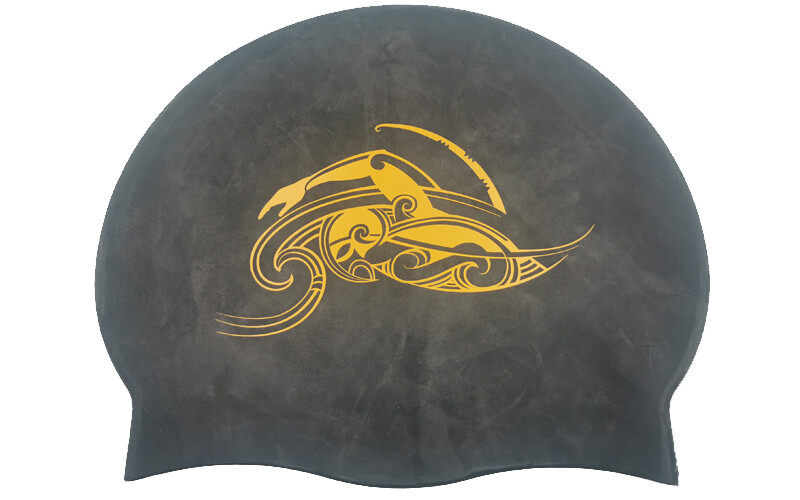
Printing the right color logo on a swim cap typically involves a process called screen printing or heat transfer printing. Here’s a basic guide:
Screen Printing Method:
Materials Needed:
- 1. Swim caps
- 2. Logo design
- 3. Screen printing ink (appropriate for swim caps)
- 4. Screen printing mesh/screen
- 5. Squeegee
- 6. Screen printing press (optional, but helpful for precision)
Main Steps:
1. Prepare the Design: Create or obtain the logo/design you want to print. Ensure it’s in a digital format and has the right colors.
2. Create the Screen: Use a screen printing mesh or screen. Coat it with a light-sensitive emulsion and expose it to UV light through a film positive of your logo/design.
3. Set Up the Printing: Place the swim cap on a stable surface. Position the screen over the cap, ensuring it’s aligned correctly.
4. Apply Ink: Pour the screen printing ink onto the screen above the logo. Use a squeegee to spread the ink evenly across the design.
5. Print the Logo: Apply even pressure with the squeegee, pulling the ink through the screen onto the swim cap.
6. Dry the Cap: Allow the ink to dry completely before handling or wearing the swim cap.

Main Steps of Heat Transfer Printing Method:
- Prepare the Design: Similar to screen printing, ensure your logo/design is in a digital format and has the correct colors.
- Print the Logo: Print the logo onto the heat transfer paper using a compatible printer and appropriate inks.
- Position the Logo: Place the swim cap on the heat press machine. Position the printed logo onto the cap in the desired location.
- Apply Heat: Close the heat press machine and apply the required heat and pressure as per the instructions for the heat transfer paper. This process typically bonds the ink from the paper onto the swim cap fabric.
- Cool and Peel: Allow the swim cap to cool before peeling off the transfer paper, leaving the logo on the cap.


